| HOW TO ADD
EDIT HAND WEAPONS IN BATTLEFIELD: 1942
Updated: October 11th 2003 |
| In
this tutorial, you will learn how to modify skeletons and
create animtaion
Requirements:
- You have already completed the tutorial on creating a
mod with the Mod Wizard.
- 3DS Max 5. |
| |
1.
|
Install
the 3dsmax toolset from the mod developer's kit by running
the 3dsmax toolset installer program.
|
| 2. |
Load
up 3dsmax and you will find a new menu named "Battlefield
Tools", choose RFA Tools from the Battlefield Tools menu.
|
| 3. |
Choose
Open .rfa from the File menu
|
| 4. |
Browse
to the /mods/bf1942 folder. The "bf1942" folder has Battlefield's
data files for a normal game.
|
| 5. |
Choose "animation.rfa" and
press Open.
|
| 6. |
Select
the file Colt.ske. This file is the colt pistol weapon's
skeleton. From the Extract menu choose Selected.
|
| 7. |
Select
the My_Mod folder in the Browse for Folder dialog and press
OK. |
| 8. |
In
3dsmax choose Skeleton and Skin from the Battlefield Tools
menu
|
| 9. |
Press
the Import (.ske) button under Skeleton Inport with IsWeapon
checked, and As Boxes checked. Then browse to my_mod/archives/animations/
and select and open the file Colt.ske
|
| 10. |
Import
the .sm models of the colt pistol parts from my_mod and
rename the parts to the same names used by the skeleton
bones. The names are case sensitive. Then save that scene
file with a name. With this scene file still open with
the
bones, choose file->Replace and select the scene file
that has the renamed colt pistol parts. Select all objects
for replacing and press ok.
|
| 11. |
With
the acutal models in place you will see something like the
screen below:
|
| 12. |
Animate
the object named "mantel" using position and
rotation. (Only the position and rotation values can
be animated for
this game)
Then choose Animation from the Battlefield Tools menu.
|
| 13. |
Have
Is Weapon checked and Use Active Segment checked, then with
the mantel part selected, press Export Single .Baf. Note
that only selected objects will have animation exported.
|
| 14. |
Save
the file as ColtReload.baf in My_Mod's folder location as
shown below:
|
| 15. |
In
/my_mod/archives/ run PackRfa.exe, select animations from
the folder drop down list and press the Pack Folder button.
|
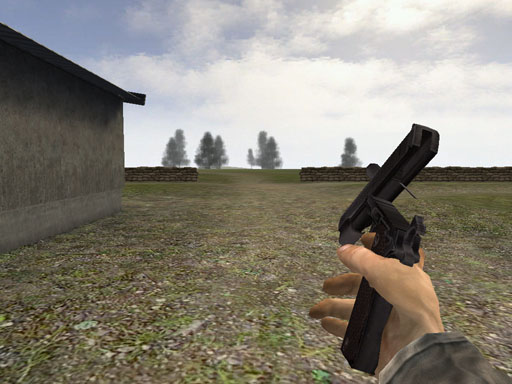
| 16. |
Here
is how the new colt reloading animation looks in game
(Fire
off some rounds and press the "R" key to reload
the weapon):
|
| |
|
| |
--
End of Tutorial -- |

